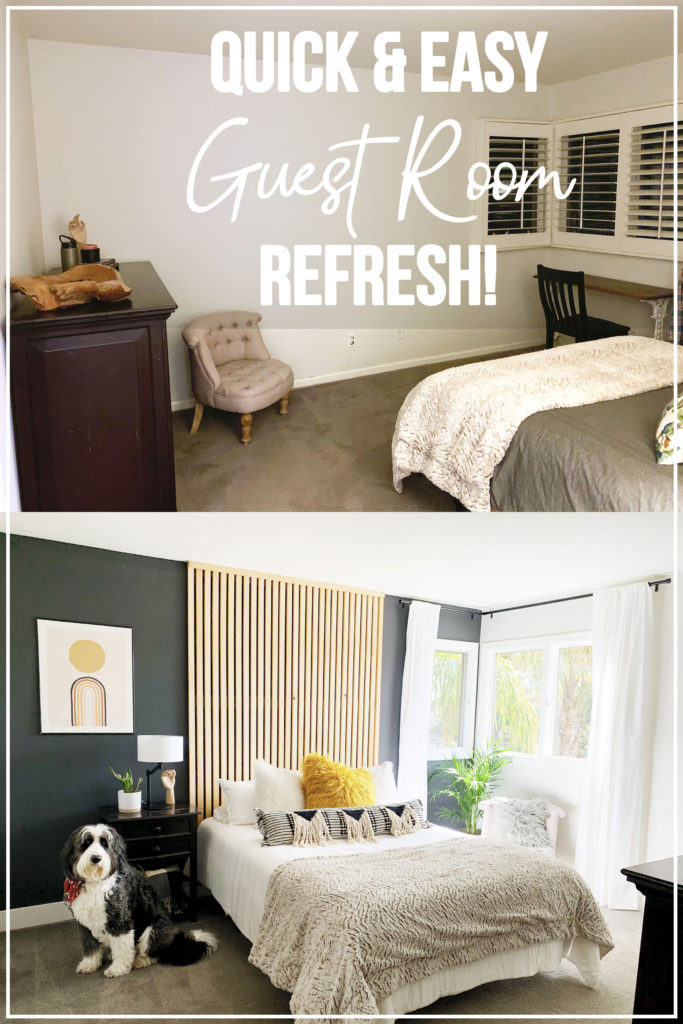
Quarantine has been advantageous for us in two areas. Our dogs and our house. The dogs have never had so much attention. And our house has seen some projects move from the “to-do” list to the “done” list. Including a guest room refresh.
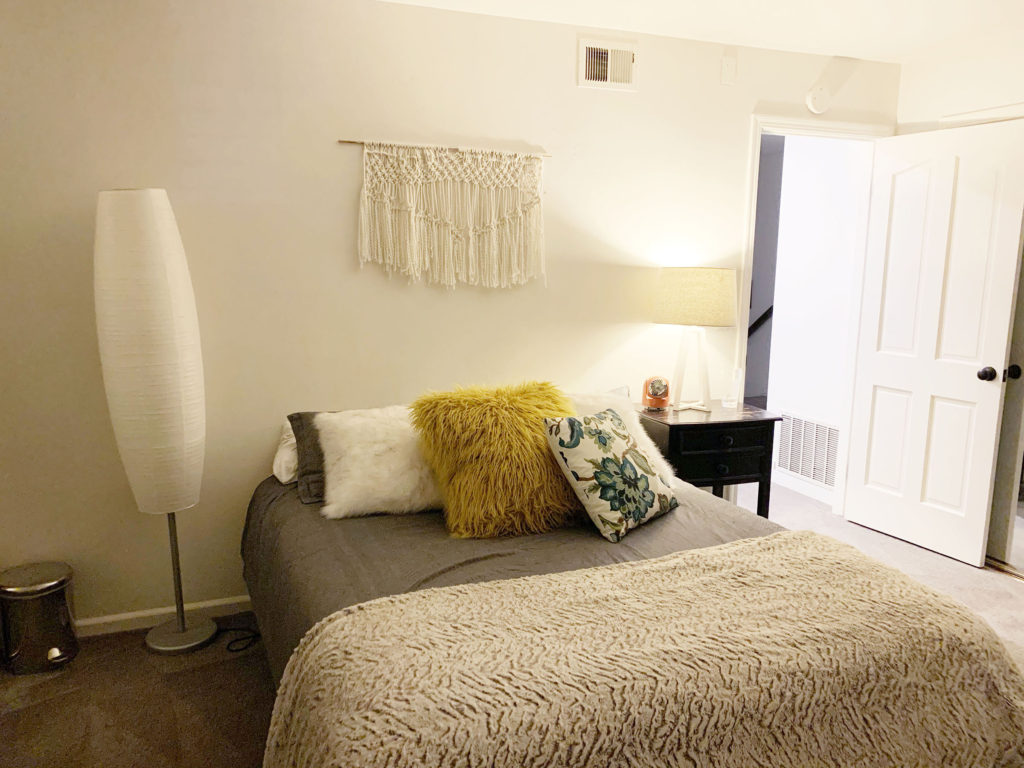
This room has housed three of our four kids at one time or another. It’s been an office for my husband. It’s been a reposit for extra clothes. It’s been painted several times. But for the most part, it’s been neglected. Now that we we’re down to two kids at home, it’s time we officially called this the guest room.
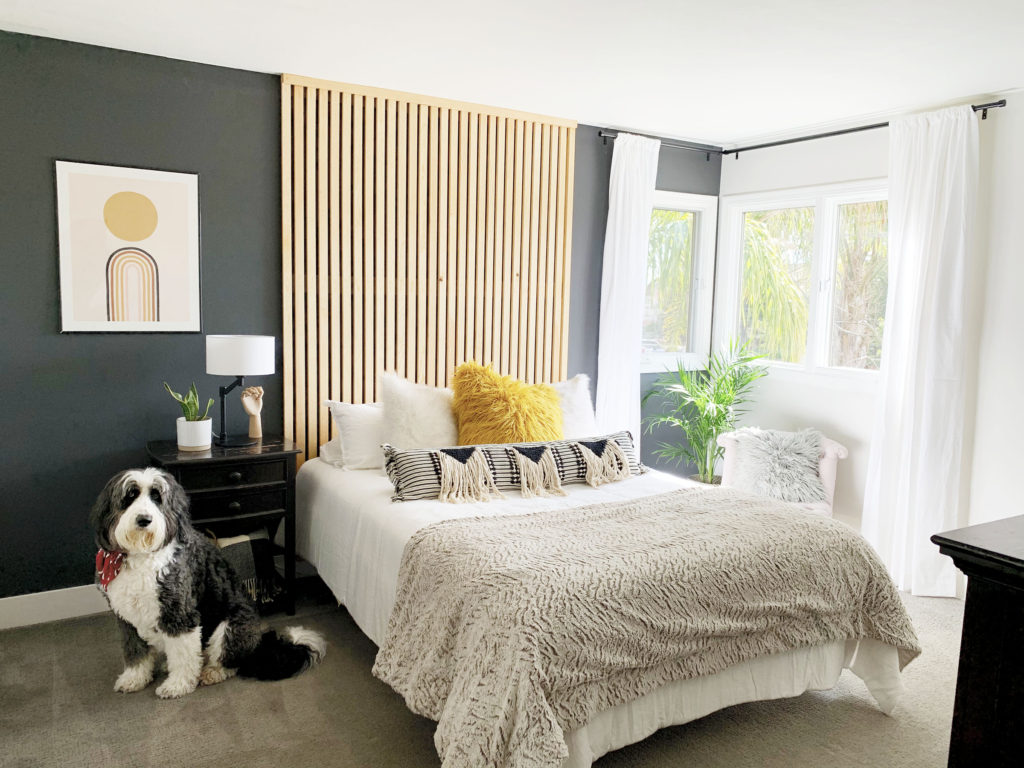
When pinning ideas for our guest room refresh, I ran across this wall treatment idea. Always on a budget, I was on the lookout for simple, yet high impact ideas that wouldn’t cost us a ton of money. And something we could do ourselves. This seemed to be a perfect solution. I love the wood component and the dark accent wall. It’s kind of a mix between scandinavian and japanese inspired style, or Japandi.
Guest Room Shutters
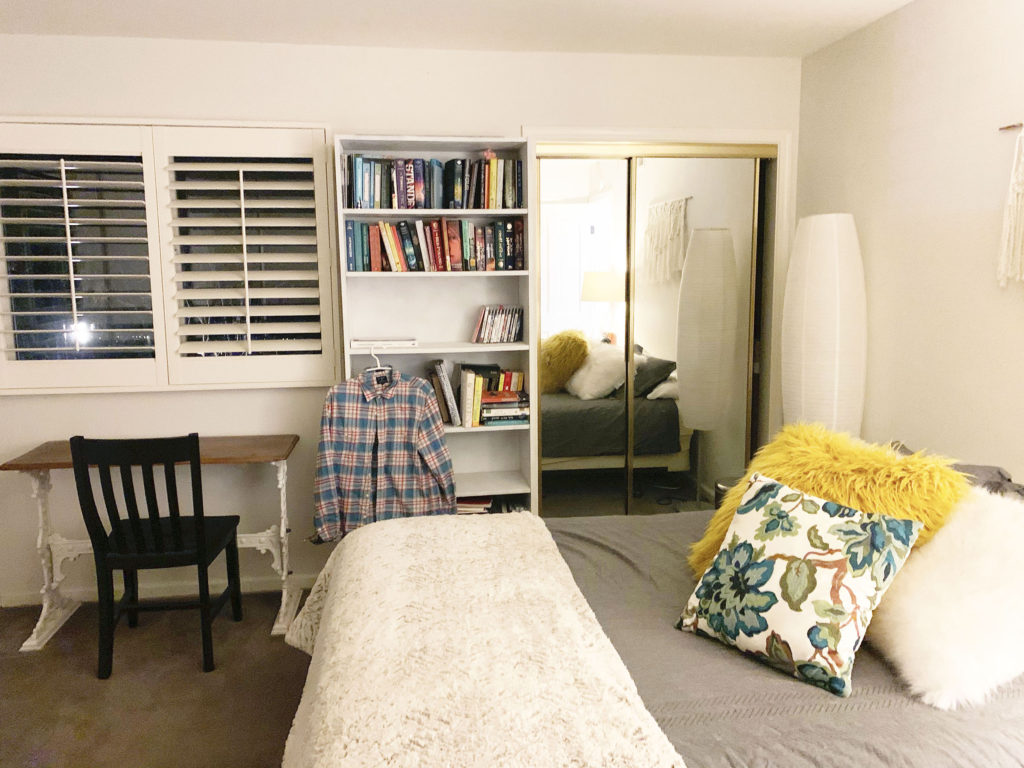
Our first step was to remove the old shutter situation. It really didn’t fit the window very well, it was so bulky, and it made the room extra dark even with the shutters open. It came off fairly easily. Once off, the next step was to remove the dinky baseboards. We ‘ve replaced all the baseboards in the house except in this room. It was definitely time. Before adding the new baseboards, we painted them with Benjamin Moore’s Simply White, which is the color of all the trim in our home.

Guest Room Paint
The second step was paint. The ceiling hadn’t been painted since we moved in ten years ago so we rolled on two coats of flat BM Simply White. I also painted all of the trim in the room with semi-gloss Simply White. The walls had been painted not too long ago with BM Classic Gray so those were all ready to go. I did want the accent wall to be a nice dark color to contrast with the wall treatment. That wall was painted with Sherwin Williams Iron Ore.

Refresh Wall treatment
We were finally ready to build the wall treatment. This was a fairly simple procedure. Here’s what we used:
- 32 1x2x8 Select Pine Boards
- Varathane “Natural” gel stain
- 3 1×4 pre-primed MDF boards
Next up, we painted the MDF boards the same color as the wall so that they wouldn’t show through when the pine boards were up. Those were then screwed to the wall via studs at the ceiling, halfway down the wall, and at the bottom of the wall. I then sanded off the random marks on the pine boards so they would be ready to hang. Ralf cut those to 92 1/2 inches. I initially didn’t think I would want to stain the boards since I really liked the look of the boards on their own. So Ralf installed them as is.
Installing one of the pine boards flush with the ceiling which served as a guide when installing the vertical boards. The remaining pine boards were then attached to the MDF boards vertically instead of to the wall, avoiding an extraordinary amount of nail holes in the wall. To make sure that the boards were consistently spaced, we temporarily placed an extra pine board between each board as we nailed them in.
We lived with the wall for a few days before deciding the pine needed a coat of stain for protection and also to look finished. I chose to use a gel stain since the boards were already up. I’m so glad I did. The gel was easy to apply and I didn’t have to worry about the stain dripping. The Natural color was perfect.

Extras
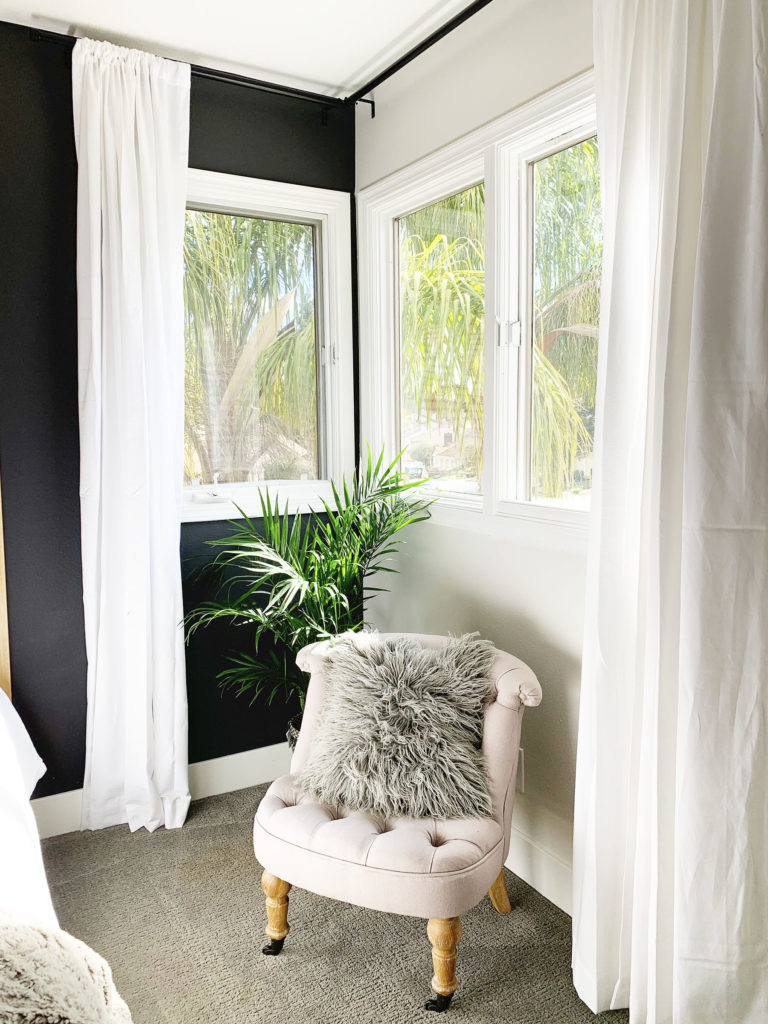
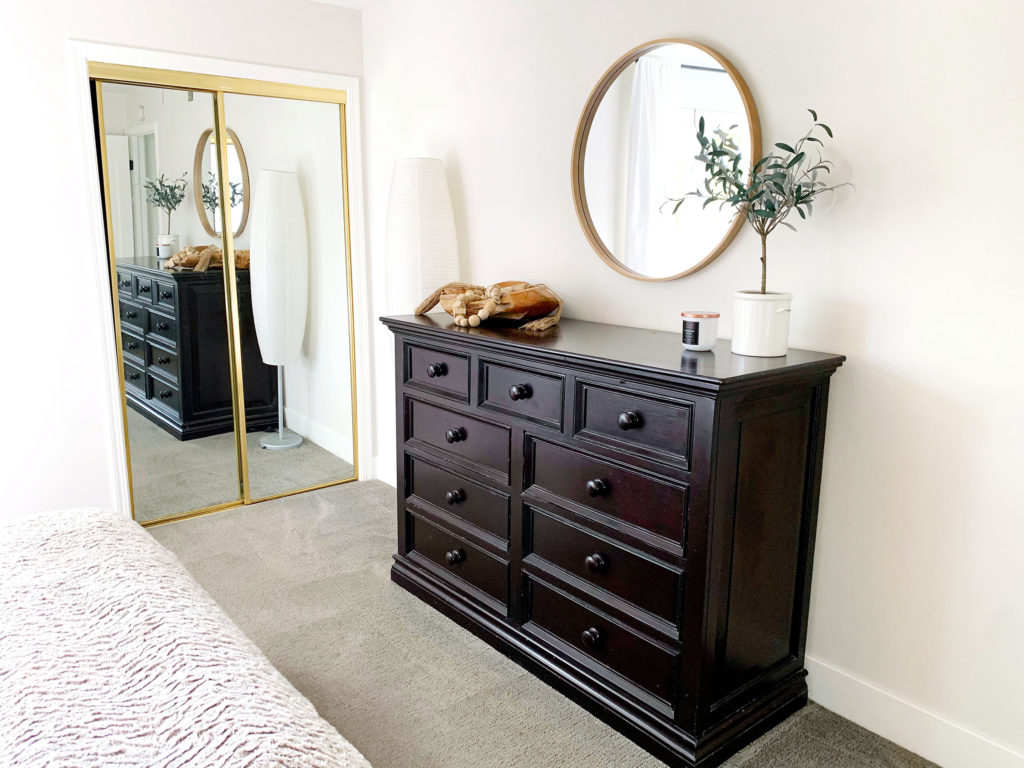
Once the wall was ready, I headed to Target to finish the guest room refresh. Because we took off the shutters, we needed some kind of window coverings. I found these drapes at Target and these rods on Amazon. Because our windows are tucked in the corner, I also found this corner piece to add to the rods that created a seamless rod situation.
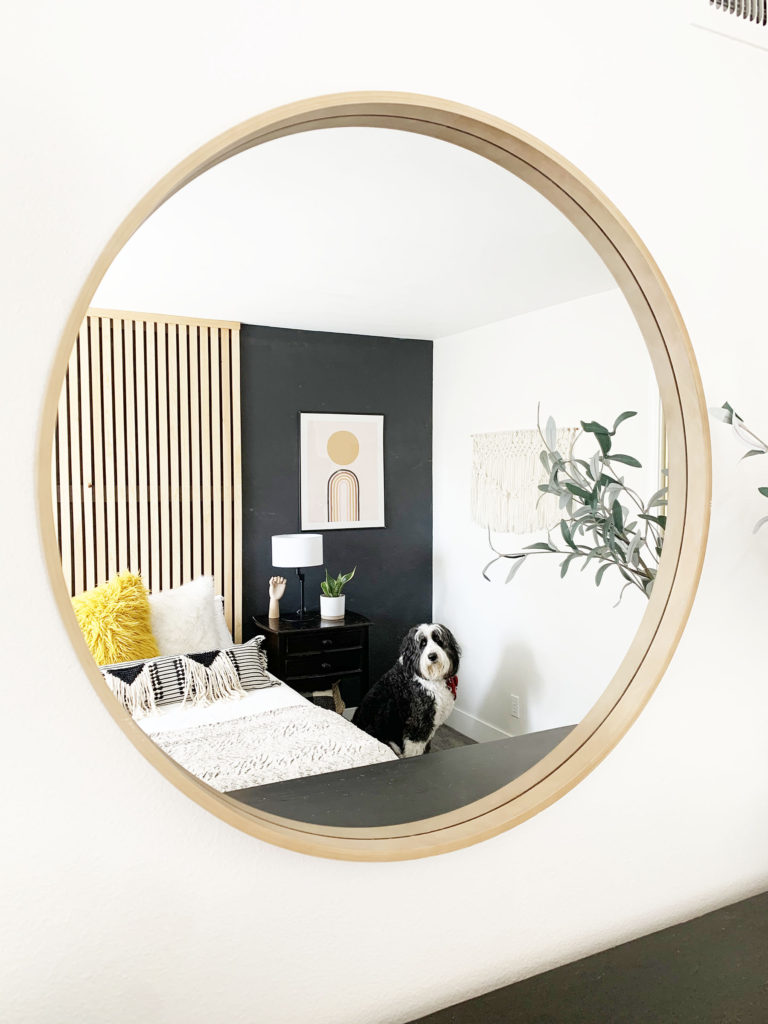
Also found at Target was this bedding, this pillow, the plant on the large dresser, the round mirror over the dresser, the bedside lamp, and the beaded garland in the big wooden bowl.
I headed to Society6 for this print that feels perfect in the room. I love to support the artists that offer their designs on Society6.
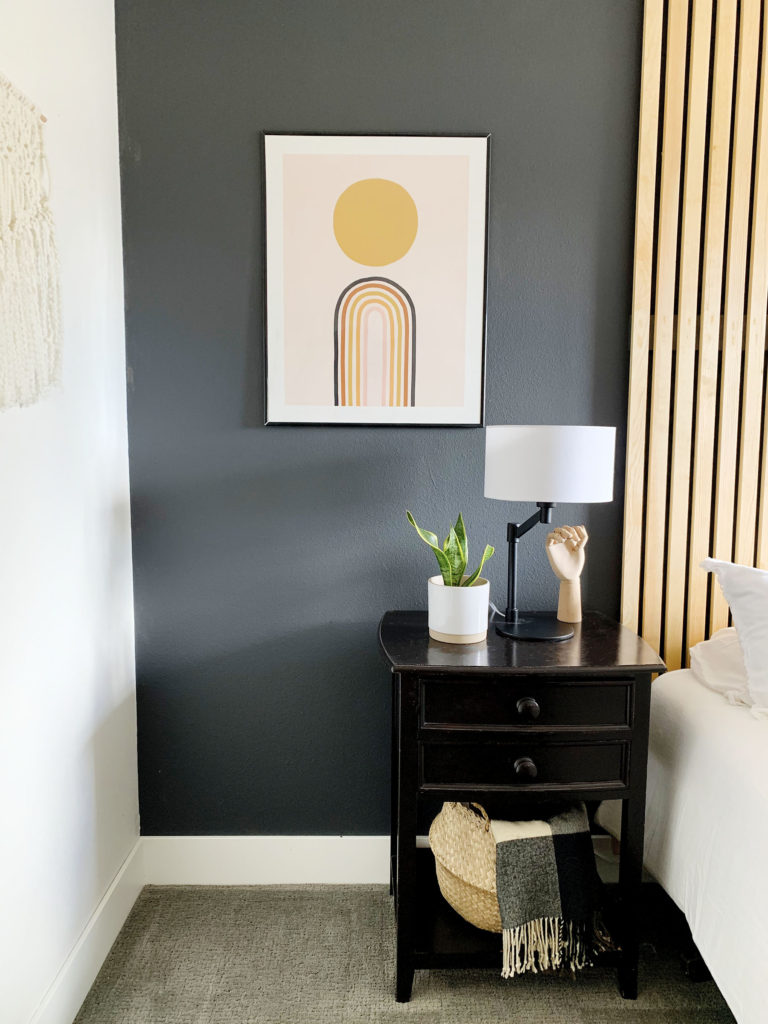
One last stop at Ikea for the wooden hand sculpture on the nightstand and the plant in the corner because you can’t have too many plants, right?
I’m really happy with the way the room turned out. Eventually we’ll do something about the shiny gold mirrored closet doors. But we’re embracing them for now.
Comment below if you have any questions.
A home decor blog post! I love it!